
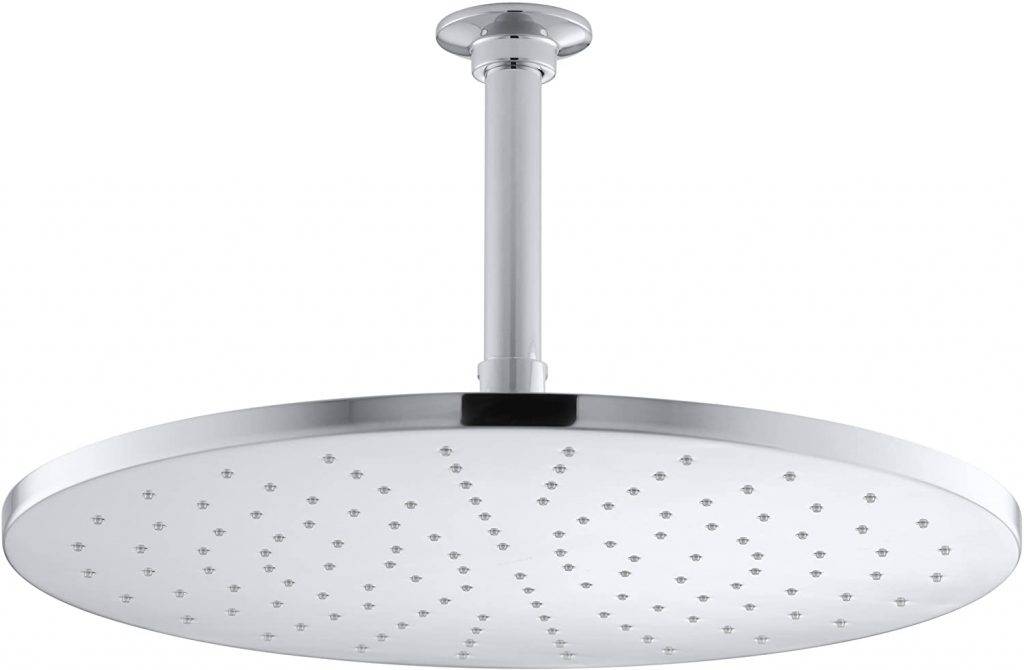
How to Remove Kohler Showerhead?
It can be annoying to find leaks in your showerhead. This wastes water, and it can also cause dry rot and mold in your bathroom. If you notice some irregularities with your showerhead, it may be time to replace it. Other problems you may encounter include reduced water flow or uneven spray. You may also notice that the parts of your showerhead are clogged with mineral deposits.
Clean a rusty showerhead
If you have a rusty Kohler showerhead, you have plenty of options. One of them is to use white distilled vinegar. This is an all-purpose cleaning product that kills bacteria without harsh chemicals. It also works to loosen mineral deposits, lime, and rust. You can also place a plastic bag over the shower arm and tie it securely.
Coca-Cola is another natural cleaner that is highly effective at removing rust and mineral deposits from your showerhead. Simply fill a plastic bag with the soda, tie it to the shower arm, and let the soda soak for an hour. After the soda has soaked in, use a scrub pad to remove the residue.
Another option is to use baking soda and white vinegar. These are both powerful cleaning agents that can dissolve rust and mineral deposits from showerheads and toilet bowls. For larger rust spots, you can use steel wool or a pumice stone. If you can’t remove rust stains with these cleaning solutions, you can also use a ball of aluminum foil. If you’re unable to get rid of the rust, you may want to consider changing your entire bathroom fixture. If you have a stainless steel fixture, you won’t have to worry about rust stains.
First, remove the old shower head. Then, use a crescent wrench to remove it from the shower arm. Now, place the new shower head into place. Make sure the new shower head is securely fastened, as you don’t want it to fall off.
Clean a limescale-covered showerhead
If your Kohler showerhead is covered in limescale, there are several methods that will help you remove it. The first method involves using vinegar. Vinegar will help dissolve the limescale and calcium deposits on your showerhead. It is recommended that you soak the showerhead for about 12 hours. After that, you can scrub the limescale off with a toothbrush.
Another method involves using a plastic bag. This bag must be large enough to cover the entire showerhead. If your showerhead is very thick, you may need to use a garbage bag. Otherwise, you can use a sandwich or carrier bag. The plastic bag must be airtight and should not have any holes.
A mixture of baking soda and vinegar can also be used to clean your shower head. The vinegar will dissolve the limescale deposits and will also release any clogs. Once you’re done, you can reinstall the shower head by using new plumbing tape. Then, be sure to use a soft rag to protect the finish of the fixture.
Another way to clean a shower head is by using white vinegar. Vinegar contains acids that naturally break down mineral deposits. This means that it is an effective cleaning agent. It should be your number one cleaning friend. You can even use an old toothbrush to scrub out any debris that may have collected in the shower head’s holes.
Using distilled white vinegar can help you remove the mineral deposits that cause your shower to have a hard time staying clean. A vinegar-based cleaner works best for this purpose. Ensure that you wear eye protection and plastic gloves when using this product.
Check for leaks
First, unscrew the showerhead’s swivel and check for leaks. If you find leaks, you may need to replace a cracked seal or clean out sediment and buildup. In some cases, a leaking showerhead could simply be due to a damaged connecting nut.
Next, check the escutcheons and valve. If you’re unable to find any evidence of leakage, the valve and shower arm are not connected correctly. This can cause leaks. Usually, a leak will be small and inexpensive to fix. If you cannot find any evidence of leaks, contact the manufacturer and see if they provide warranty coverage.
If the leak is not visible, look for a damp patch on the wall. If there is, you can make a small inspection hole and inspect the piping. In this way, you can identify the source of the leak. Once you’ve located the source of the leak, you can repair or replace it.
Leaks can be caused by a cracked or damaged flange or gasket. To fix this, you may need to replace the drain flange. Some DIY guides will outline the steps to replace the drain flange. You may also find leaks on adjacent walls or ceilings.
If you notice a leak, you need to investigate other possible causes before trying to fix the leak. A leak may be hidden, which requires a little investigation and work on your part. The leak may be small, but it could waste a surprising amount of water over time. It is best to check the various components of the shower head in order to find the source.
Locate the flow restrictor (the white plastic disk with threads). It’s located on the shower arm. Use a pipe wrench or pliers to unscrew the restrictor. If it’s not visible, you can use a rag to cover it.
About the Author

I am a writer who does research on the bathroom and researches whether minimalist or modern bathroom equipment and products. I will continue to write to make the time spent in the bathrooms enjoyable.